
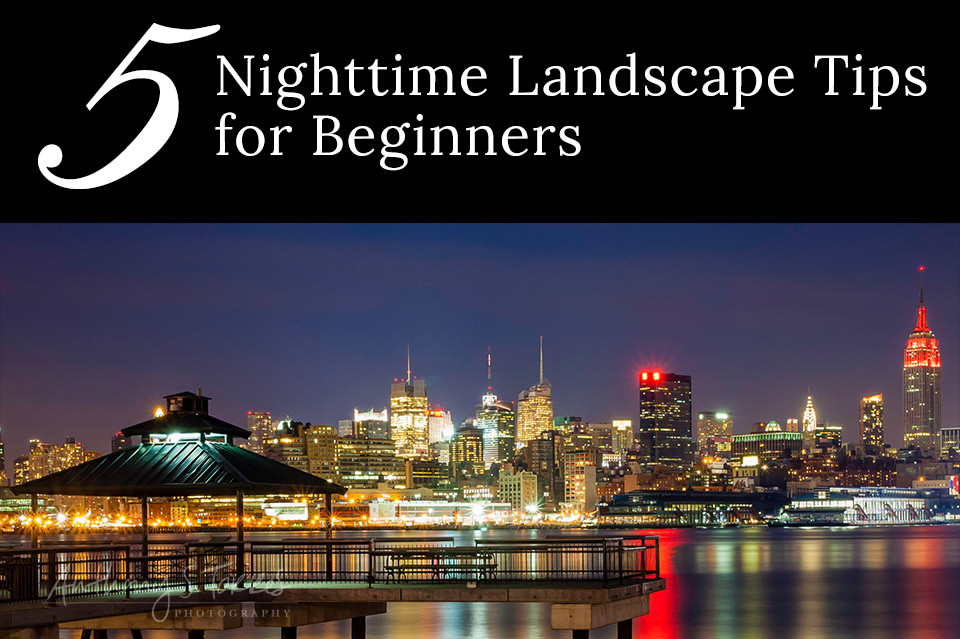
Believe it or not, you don't need a fancy digital camera to shoot nighttime landscape photographs. Although more camera control helps, here are five tips that will help you take great nighttime landscapes with most point-and-shoot cameras, as long as they allow you to change the settings discussed below. Know that these fundamentals will help you take better photos every time, regardless of what body you're holding.
1) Hands Off
No matter how steady you think your hands are, there will always be movement. Although some cameras and lenses include image stabilization, if you want to take photos like the professionals, you cannot handhold your camera for night landscapes.
A tripod is your best bet, and I recommend investing in one if you plan to take night photography more seriously. They're not all heavy beasts. You can find some great low-cost, lightweight tripods at B&H Photo and your local camera stores.
When I say hands off, I really mean it. Don't even press that shutter button with your finger if you can avoid it, as that movement can be enough to rock your camera and ruin a potentially great photo. Use the self-timer. It's not just for selfies. It's the perfect tool for vibration-free night shots.
2) Read the Manual for "Manual"
I ask friends about their cameras and not shockingly, like most people, they don't know much about their camera besides turning it on and taking a picture. If you're looking to take better photos, you're going to have to read the manual. I really recommend reading through it when you first get a camera and keeping it on you when you go out to shoot. Or at least make a cheat sheet of how to find certain settings. If you've lost the manual, you can typically find a PDF version on the manufacturer's website.
To get the most control, set it to manual mode. Depending on your camera, it could be set by flipping a dial to "M" or through the menu system. Many cameras also come with "scene modes" for scenarios like portraits, fireworks, and sports. When starting out, scene modes can be helpful because they're a good way to find out what settings to try in manual mode. Shoot in a scene mode, then check the EXIF data on your JPG file (right-click in Windows, Properties, Details) to see what the camera chose. Then try replicating those settings manually and adjusting from there.
3) Long Shutter Speeds
Night exposures need long shutter speeds to allow enough light to reach the sensor. The longer the shutter, the more light comes in. If you weren't able to use a scene mode first to get baseline settings, now's the time to experiment. Start with a couple of seconds, check the results, and adjust from there. The LCD screens on most cameras tend to look brighter than the actual photo you'll get, so you may need more time than you think.
If you're also able to control your aperture, it's best to close your lens down (higher f-stop number) as much as you can for landscapes. A lower f-stop like f/2.8 is good for portraits where you want to isolate your subject. A higher f-stop keeps a greater range of distances in focus, which is what you want for a landscape where the scene itself is the subject.
4) Bring Down the ISO
ISO, or film speed, is how sensitive your sensor is to light. Lower numbers like 50, 100, or 200 mean less sensitivity. Higher numbers like 800 or 1600 mean more sensitivity, but the downside is more digital noise ("grain"). If you've taken a photo at night without a flash before, you've probably noticed that grainy, distorted look when you zoom in. That's high ISO noise.
We use high ISO numbers when we need to increase shutter speed in low light, like sports in a gym or party photos. But here, with the camera on a tripod and the shutter open for several seconds, we don't need that tradeoff. Turn your ISO down as low as it can go. This gives you the cleanest possible image at whatever shutter speed you need.
5) Turn Off the Flash
This is more of a general tip. Have you ever taken a photo in a dark room with a flash, and the closest object got lit up completely while your real subject stayed in the dark? Your camera was exposing for whatever reflected the flash back first. For night landscapes, we want the opposite: only the light from the scene itself, exposing slowly over time.
Turn the flash off and let the long shutter do the work. This will also prevent any nearby object from becoming more prominent than the overall scene you're trying to capture. The results are dramatic, natural-looking, and genuinely interesting when you get the settings right.
Experienced photographers know there is much more to all of this, but I'd like the person with little experience to at least improve a little bit with these five fundamentals. If you found this useful, please share it with someone who would find it helpful too.